In This Article
How to roll the perfect hemp joint in 3 easy steps. Follow our guide to become a hemp joint master in no-time.
- Prepare your paper, flower and filter
- Assemble and distribute the flower
- Roll carefully making sure to distribute the flower into a nice cone
Practice Makes Perfect
If you want to smoke CBD then you’ll need to buy yourself some hemp pre-rolls, or a bag of CBD flower so you can roll your own CBD joints.
If you’ve made marijuana joints in the past then you may just be here for some pointers, but for the benefit of the beginners amongst you, we’ve put together a step by step guide on how to roll a perfect joint.
Rolling a joint or spliff (cannabis mixed with other herb) is a skill that will require some practise to reach perfection.
Follow our step by step guide to ensure you’re on the right path and you’ll be rolling deliciously smokable joints in no time at all.
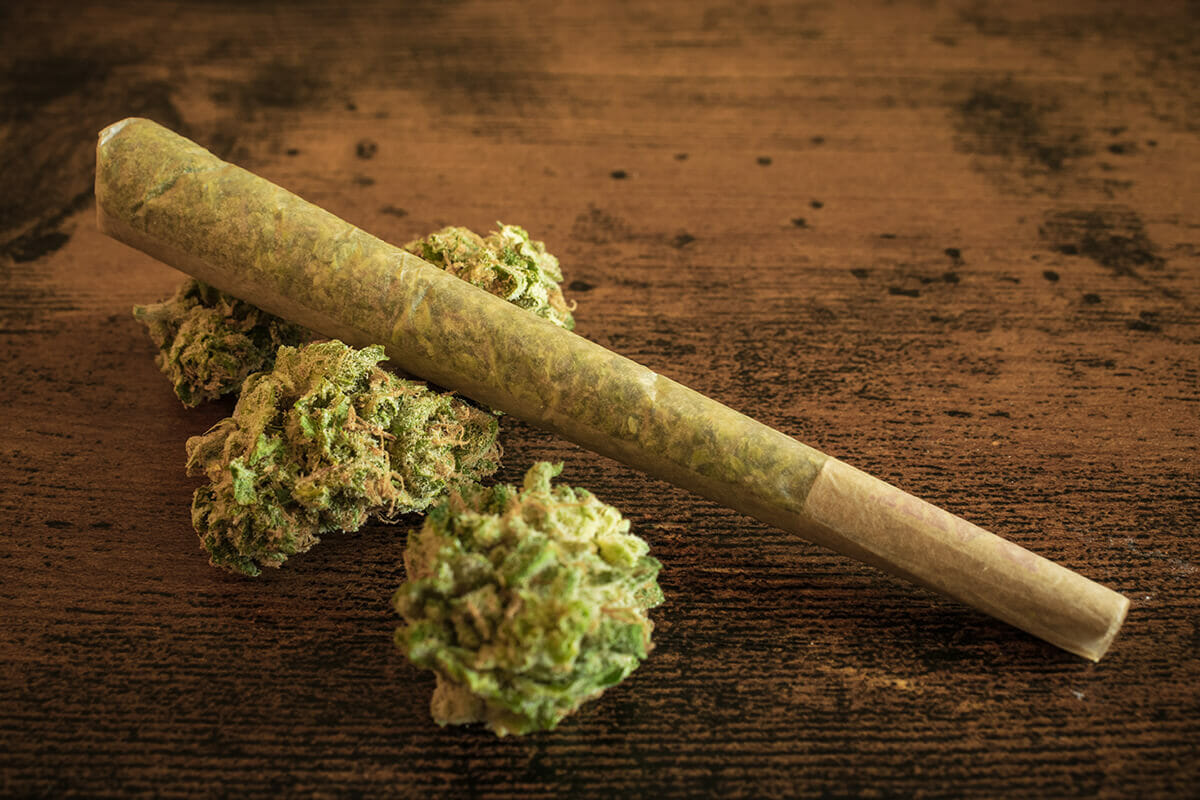
Step 1 – Preparation
As with many things in life, good preparation will be key to your overall success in joint rolling.
You can prepare all of these elements at the beginning, or one at a time as you assemble the joint depending on your preference.
Once you’re up to speed, your joint preparation will generally take just as long, if not longer, than the assembly and rolling of the joint put together.
The Bed
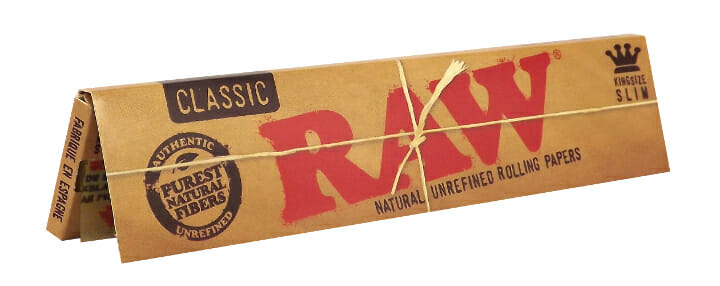
To prepare the bed of your joint is basically just having the paper ready.
You can use short or long papers, just be sure to double (and triple) check that the sticky part of the paper is face up, running along the top edge of the paper, as it’s pretty annoying finding out it’s the wrong way round after it won’t stick shut!
In Europe it’s common practise to use two short papers to make one longer bed when longer papers aren’t available.
To do this you just stick two papers together to form an “L” shape.
“In Europe it’s common practise to use two short papers to make one longer bed when longer papers aren’t available.”
The Hemp
To prepare your CBD for smoking you will need to grind it up into teeny tiny pieces that will roll and smoke more smoothly.
If you don’t own a grinder then you can use a pair of scissors to dissect it, or if you have no tools at hand, your fingers to pull it apart.
Preparing your CBD for rolling is almost as important as rolling to ensure that the joint smokes smoothly and burns evenly.
The last thing you want is your perfect “looking” joint to start “elvis-ing” on you (side-burning). If you plan to smoke your CBD with something else (marujuana or tobacco) then you should mix it together before assembling also.
“Preparing your CBD for rolling is almost as important as rolling to ensure that the joint smokes smoothly and burns evenly.”
The Tip
Some paper manufacturers supply some free joint tips or cardboard filter alongside the papers to save you ripping up the cardboard your papers are stored in.
If this is the case then you just need to roll the tip up. If you need to make your own then start by cutting a piece of cardboard that measures roughly ¾” x 1.5”.
The shorter edge will be the length of your tip (also called a crutch, roach, or filter) and before rolling it around you should make a (small as possible) zigzag in the paper a couple of times and then roll the cardboard around the “M” shape.
Your “M” will stop any loose bits of flower from flying into your mouth when you puff on the joint. Roll the tip up as tightly as possible, and roll it between your fingers a few times to slightly train the paper into the shape.
“A filter can also be called a crutch or more commonly a roach”
Step 2 – Assembling The CBD Joint
Decide which side of the joint you want the filter to be on for rolling purposes.
You may want to place it on the same side as your dominant hand to lead the rolling process, or it may feel more natural on the other side.
Place the tip and CBD flower onto the paper, shaping it so that there’s less flower next to the tip and more at the end.
Distributing your CBD flower properly at this stage will help you achieve the conical shape of the joint.
Step 3 – Rolling The Joint
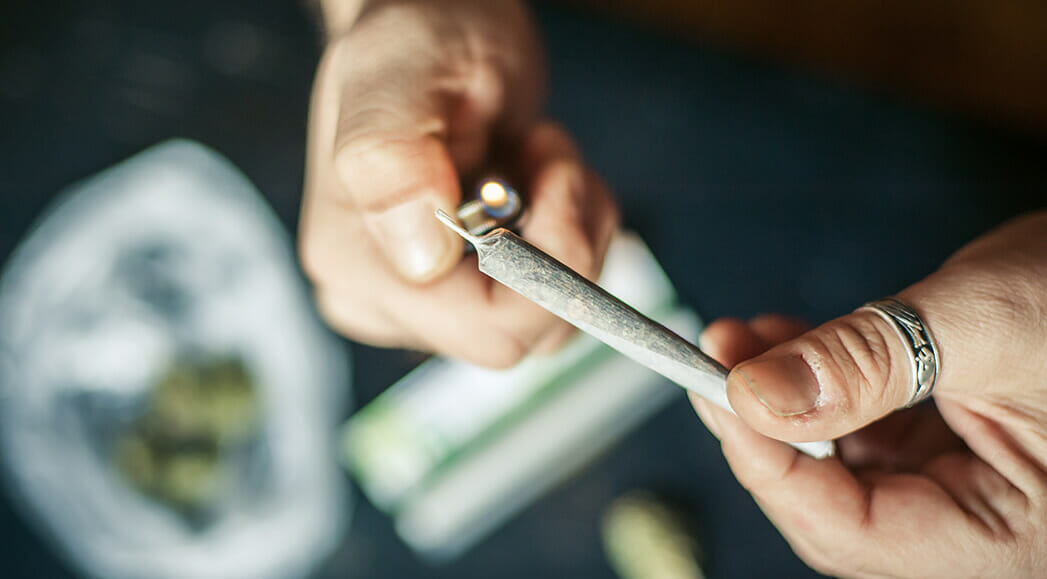
Now you’re ready to start rolling so pick up the joint carefully between your fingers (unless you chose to assemble it whilst holding it in your hands).
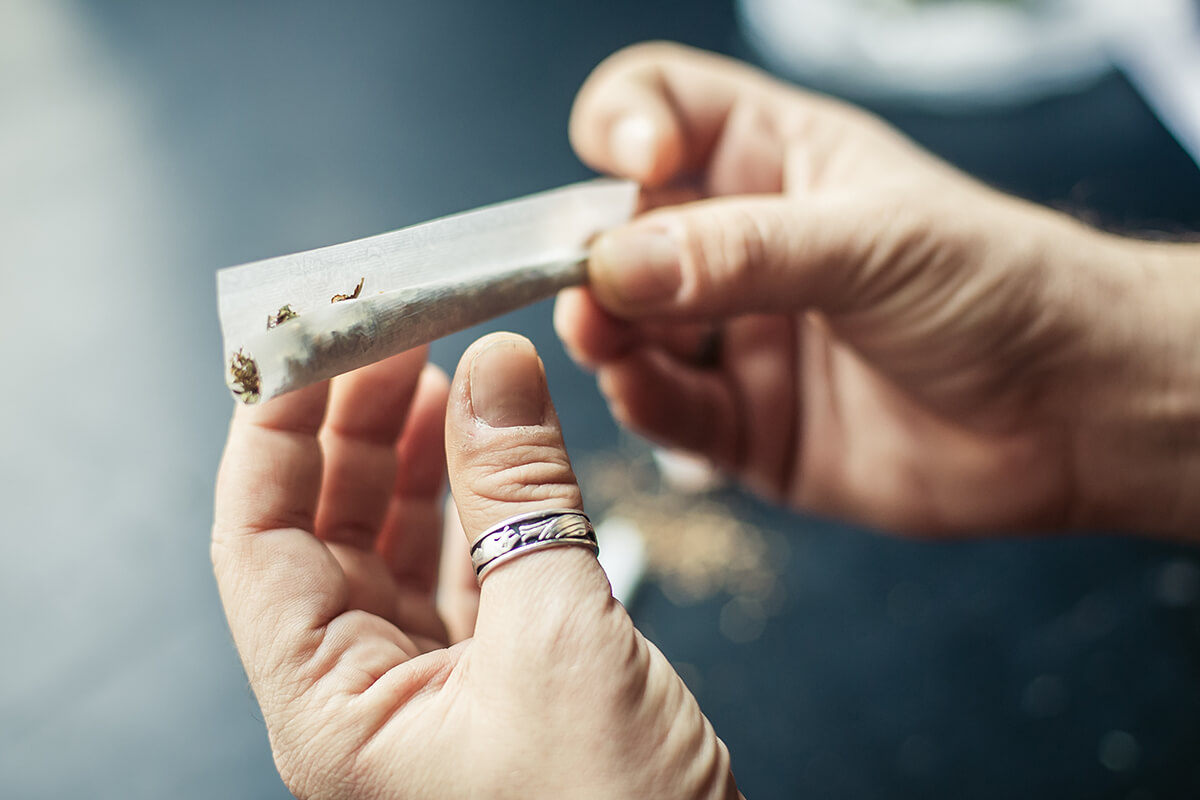
Pinch the paper around the tip end and gently roll the other end of the joint into your desired conical shape.
Fold the front edge of the paper into the roll as tightly as possible, starting with the tip end to help guide the rest of the paper into place.
Lick the glue and seal the joint closed.
Some Handy Hints
It’s this last section that causes people the most problems but you’ll get better with time and plenty of practise.
While your first few attempts may be oddly shaped, it’s pretty easy to make sure the joint still smokes well by using a pokey device to pack your CBD down towards the tip.
You can also add any product that fell out during the rolling process and poke that further inside, before twisting the end closed.
If you have paper overhanging your tip then you can also just use a pair of scissors to trim it back.
Practise Makes Perfect
Rolling a perfect joint every time will take a bit of practise but mastering the art of joint-rolling can save you a lot of money in the long run, enabling cost-efficient purchases of pure CBD flower instead of pre-rolls.
At Green Unicorn Farms we want to offer our customers choice by giving you the option of either. No matter how you buy your CBD, when you buy it from us, you can count on receiving the cleanest, richest, most aromatic flower available in the U.S. We are constantly searching for the highest quality smokable hemp, from the most experienced farmers.
We do you the hunting, you do the smoking.
