Have you ever wondered how your Mac, iPhone, and all other Apple devices synchronize settings and preferences so seamlessly? You have to thank Apple ID login here, which is essentially your personal Apple account used throughout its ecosystem.
There’s a lot you can do with an Apple ID: create a new one, change your password, permanently delete the account, etc. Let’s dive into more detailed explanations of the available Apple ID actions in the comprehensive guide below.
What’s My Apple ID?
My Apple ID is an Apple account used to store your settings and preferences, and most importantly as an Apple login, letting you access services like Apple Music, App Store, iMessage, FaceTime, iCloud, and many more. It’s essential for a smooth experience within the Apple ecosystem.
Even if you just own a single Apple product, you’ve likely received lots of requests from Apple, in the form of pop-ups and notifications, to create new Apple ID.
Fortunately, creating a new Apple ID is a very good idea and quite easy to do, whether through iTunes, your browser, or the App Store.
Regardless of the method you choose, you’ll be asked to provide some required information, so make sure you’re ready with:
- Name
- Birthday
- Email (used as your Apple ID sign in)
- Password
- Billing address
How to create Apple ID with iTunes
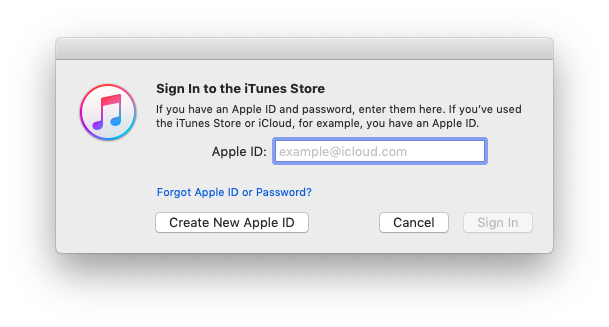
If you have a brand new iTunes, you’ll be prompted to sign in with your Apple ID right away. This prompt will also give you the option of creating a new Apple ID.
In case you’ve already used iTunes before, there are a few extra steps to creating your Apple ID:
- Choose Account > Sign In from the menu bar at the top. If another account is already signed in, you need to sign them out first.
- Click Create New Apple ID
- Fill out the form with required information
How to create Apple ID from your browser
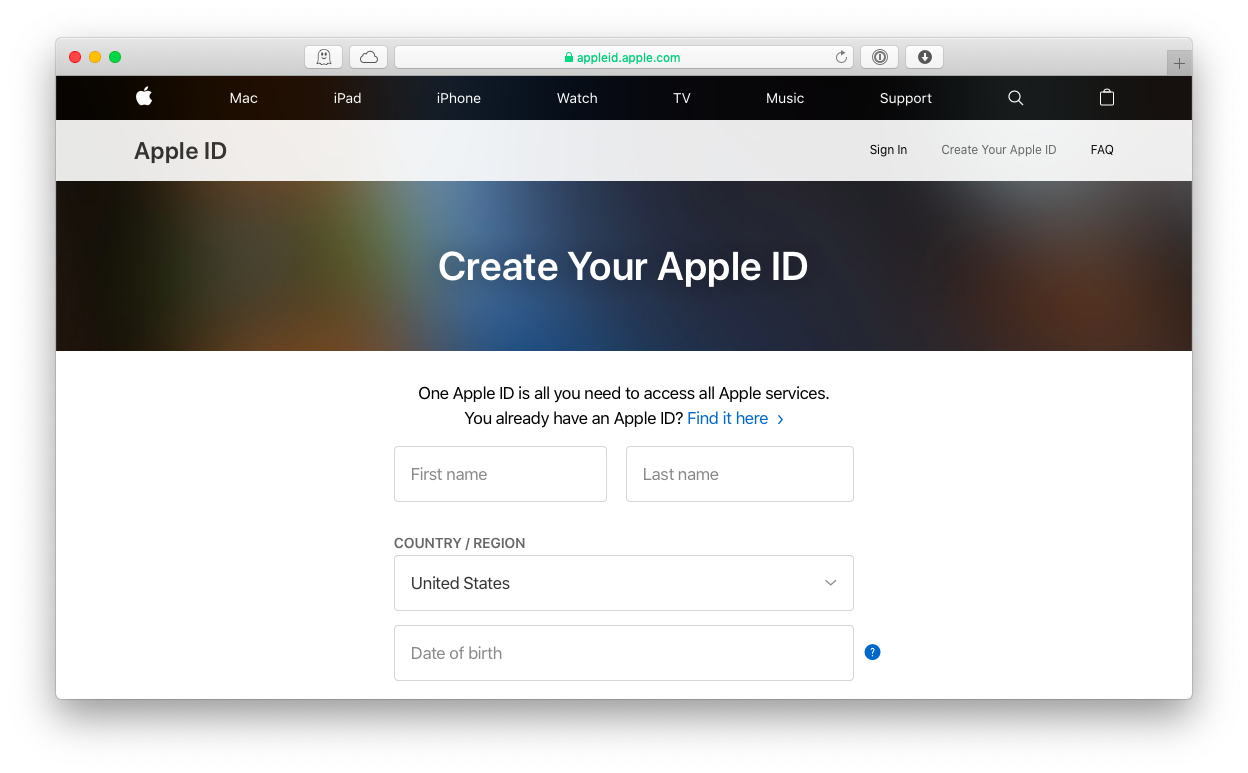
When you temporarily don’t have access to your computer, it’s possible to create new Apple ID from any browser as well:
- Go to appleid.apple.com
- Choose to Create Your Apple ID in the top-right part of the menu
- Fill out all the fields on the new page
How to create Apple ID using the App Store
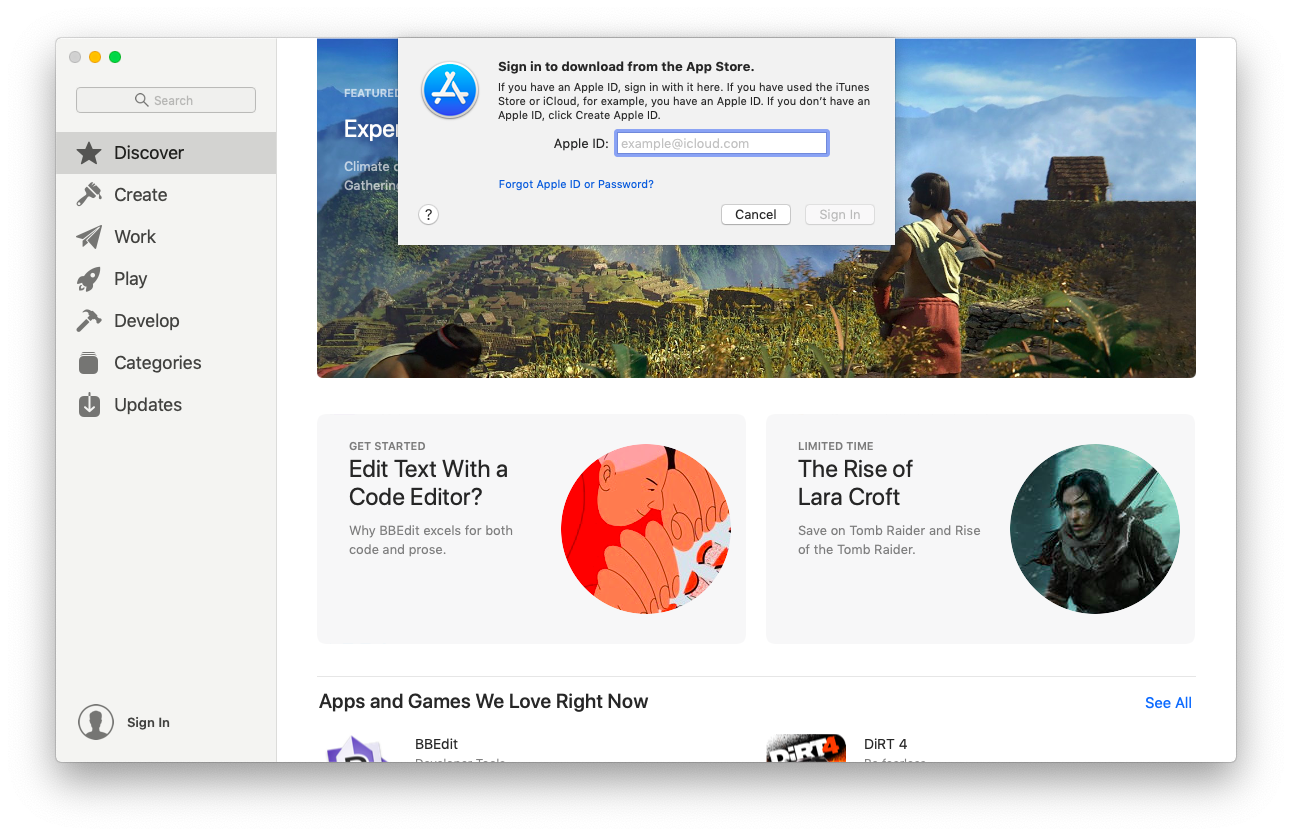
Another way to create new Apple ID is via the App Store on your Mac:
- Click Store from the top menu bar
- Choose Sign In
- Select the Create Apple ID from the sign-in pop-up
Reset Apple password you forgot
There are a few reasons to change the Apple password: for example, if you forgot Apple ID password or if it was compromised. Or you may believe someone else has gained access to your account.
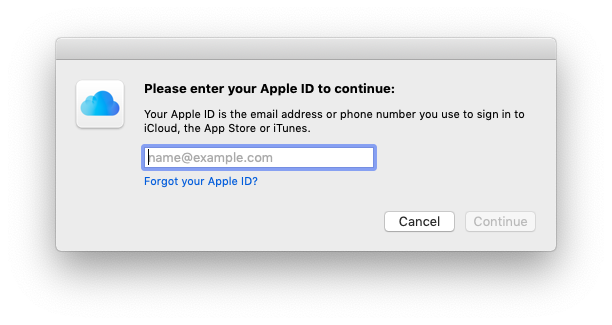
Whatever the reason, you can change Apple ID password in a straightforward way:
- Choose Sign In from the Accounts menu in iTunes, the App Store, or the Apple ID website
- Select Forgot Apple ID or Password
- Enter all the necessary information to reset your Apple password
How to change Apple ID on Mac
It’s possible to edit all your Apple ID details, including the email you use to log in to your Apple account:
- Navigate to appleid.apple.com in your browser
- Sign in with your Apple ID and password
- Click Edit in the Account section
- Select Change Apple ID under your current email address
- Enter the new email and press Continue

Note that if you attempt to log in too many times to your Apple account with an incorrect password, your account may be frozen for 24 hours. So if you’re having trouble logging in, choose to reset your password with Forgot Apple ID or Password option before you get locked out. Otherwise you’ll have to wait until the next day to change your Apple ID.
How to delete Apple ID
Believe it or not, until recently it was impossible to actually delete your Apple ID. You could use the option to deactivate it, which was functionally similar to deleting, but Apple would still retain your information.
However, in 2018, Apple created a data and privacy portal that lets you change what you share with the company, including completely deleting your ID.
Before you do go and delete your Apple ID, think through all the consequences. You need to make sure your files are backed up first. Then deauthorize iTunes and sign out of iCloud before you finally remove Apple ID from your Mac.
Back up your files on Mac
There are certain risks to deleting your Apple ID. For instance, it’s possible to lose some files, contacts, and syncs — even the access to the apps and music you’ve purchased with your Apple ID might be terminated.
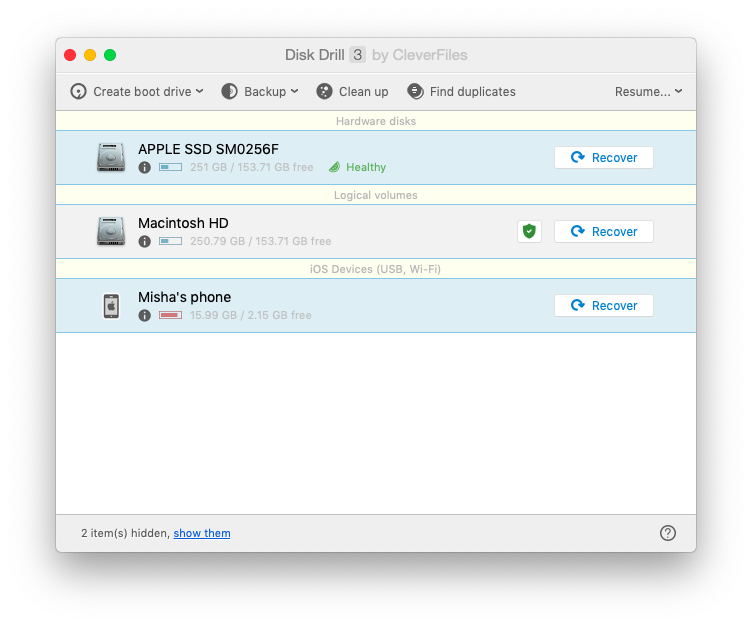
So backing up files before you delete Apple ID is essential. The best app to fully back up your files to a hard drive is Disk Drill, which you can then use to restore your lost files if something goes wrong. Alternatively, you can use a cloud storage app like Dropshare to make sure you’ll retain access to all your important files after you make any considerable changes to your Mac.
How to back up your Mac using Disk Drill
Backing up your files to rewind if anything goes wrong should be a no-brainer. Disk Drill is a powerful and easy-to-use app that takes care of creating backup disk images that you can use to restore your Mac to its former glory.
Once you have Disk Drill installed and an external drive (e.g. a USB thumb drive) ready to go:
- Launch Disk Drill
- Select Backup > Backup into DMG-image from the top menu
- Choose the drive you want to back up — if you’re backing up your Mac, this will be your primary hard drive. Once highlighted, click Backup in your selection.
- Create the name of your backup file and where it will be saved. This is where you want your external drive. Don’t save your backup onto the same drive that you are backing up.
Once Disk Drill is finished saving, you will have a safe copy of your Mac that you can mount using the app.
How to back up your Mac with Dropshare
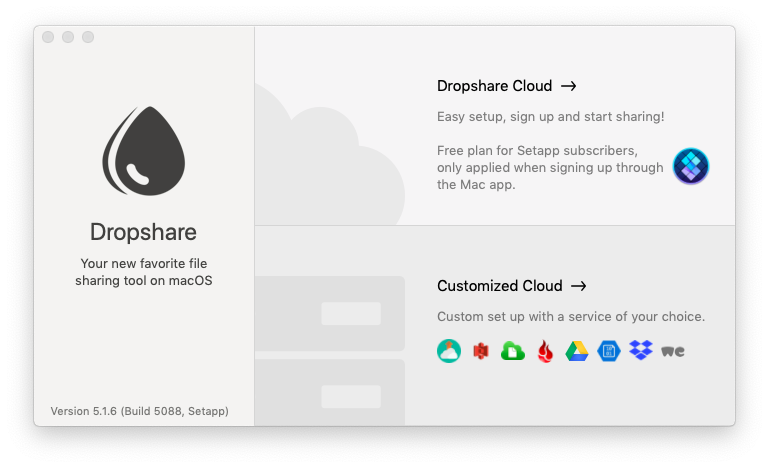
Unlike other recovery tools, Dropshare is a great way to back up specific files that you don’t want affected by changes to your Mac. Rather than creating a full backup of your computer, you can use Dropshare to preserve your important documents or media files.
What differentiates Dropshare is that, while it has its own cloud storage you can use with the app, you can also easily configure it to use other cloud storage providers like Dropbox, Google Drive, Amazon S3, and more. The app is incredibly flexible.

Once you install and configure Dropshare’s cloud storage, all you have to do is drag and drop the files you want to back up into the Dropshare client, and it will upload them to the cloud, keeping them safe from whatever changes you make to your Mac.
Once your files are completely backed up, you can proceed with the Apple ID deletion.
Deauthorize iTunes on your Mac
Your Apple ID is used to authorize iTunes, which gives you access to the iTunes store and cloud purchases. Before deleting your Apple ID, make sure you deauthorize iTunes so that you can link it up later with a different account:
- Click Account > Deauthorize This Computer from the menu bar
- Provide your Apple ID password and click Deauthorize to confirm
Then sign out of iCloud on your Mac:
- Launch System Preferences > iCloud
- Click Sign Out in the bottom-left corner of the iCloud preferences pane
Finally remove Apple ID:
- Go to appleid.apple.com and sign in with your Apple ID
- Scroll down to the section called Devices
- Find your Mac in the list of devices and click Remove
- Repeat for as many devices as needed
How to delete your Apple ID account
Don’t begin the deletion process before backing up and removing your Apple ID from your Mac. Once you’re ready:
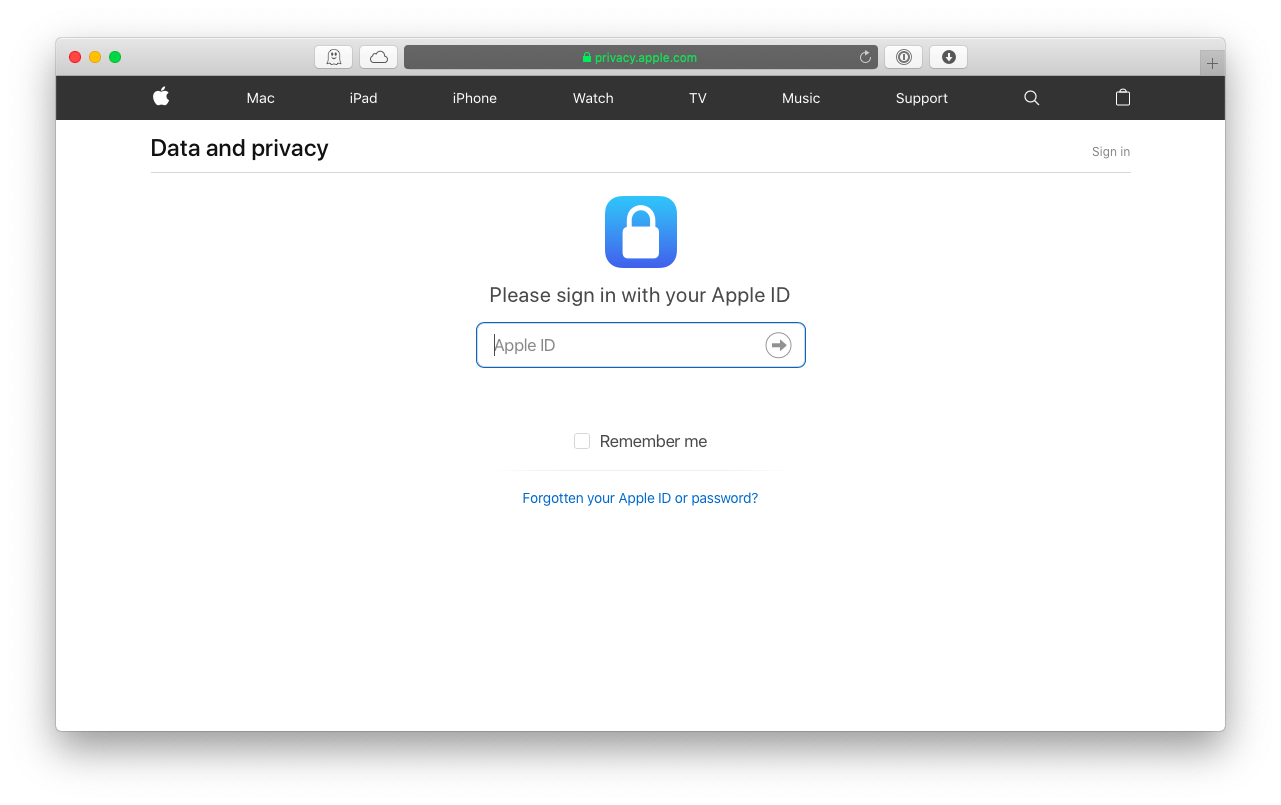
- Navigate to privacy.apple.com in your browser
- Log in with your Apple ID and password
- Click on Get Started under the Delete Your Account section
- Choose the appropriate option from the pulldown menu answering why you’re deleting your Apple ID login
- Provide a contact method to get updates on the status of your account and click Continue
- Write down the access code used to verify your identity to Apple support
- Enter the access code when prompted and then Continue
- Click Delete Account and confirm
Your Apple ID account will not be deleted right away. Apple will begin a week-long verification process before destroying your account and all associated data, so you can change your mind and cancel during that time with your access code. After the verification process is over, your account will be gone forever.
As you know by now, your Apple ID is a crucial part of your Apple experience. Following the guide above, you’ll be able to easily create, change, and delete Apple ID. But before you proceed with any irreversible changes, make sure to back up your Mac fully with Disk Drill or partially with Dropshare.
Best of all, you can try both apps free during a 7-day trial of Setapp, a platform with more than 150 Mac apps across all imaginable categories, from finance to home inventory and photo retouching. So what’s your new Apple ID going to be?
