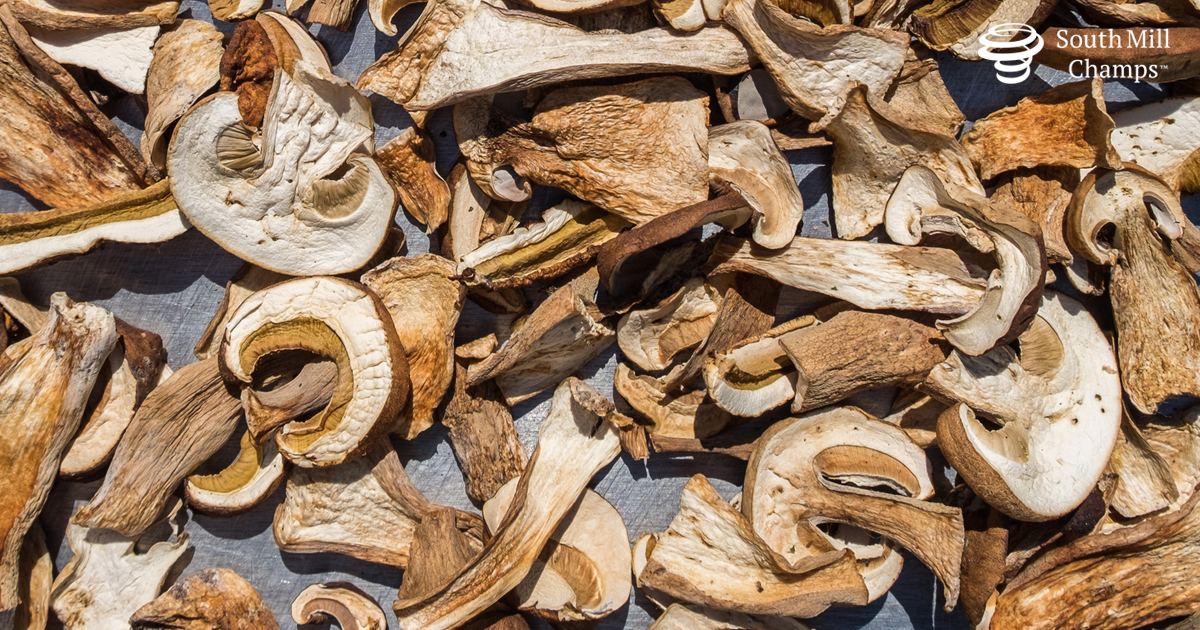
 Photo From gettyimages
Originally Posted On: https://southmill.com/blog/dehydrating-mushrooms-at-home/
Mushrooms are one of the world’s most perfect foods. Mushrooms are renowned for their meaty texture and bold umami flavor, appealing to meat and plant-based eaters alike. They instantly elevate a range of dishes, from breakfasts and burgers to soups and stews.
Aside from versatility, mushrooms also pack a hearty nutritional punch. They are one of the only plant-based sources of Vitamin D, an essential nutrient for bone health and mood. They are also full of fiber and important nutrients like potassium and selenium. Certain types of mushrooms also contain adaptogens, which may help people cope better with stress and fatigue.
When you dehydrate mushrooms, you lock in those flavors and benefits. Dried mushrooms are a great alternative to fresh versions because they keep better in your pantry, contain less salt than canned versions, and are a convenient way to add a flavorful and nutritional punch to meals. Dried mushrooms are the perfect ingredient for all kinds of recipes, but many people are curious about the dehydration process. Here, we’re breaking it down step by step, so you can do it at home (it takes little equipment, just time and patience). Yes we really are everything Mushroom!
How to Dry Fresh Mushrooms
You can reap the benefits of mushrooms all year round by buying them fresh and in season and drying them in your own home. Thankfully, the process is simple and only requires the kitchen equipment you have on hand.
Step 1: Check Your Mushrooms for Freshness
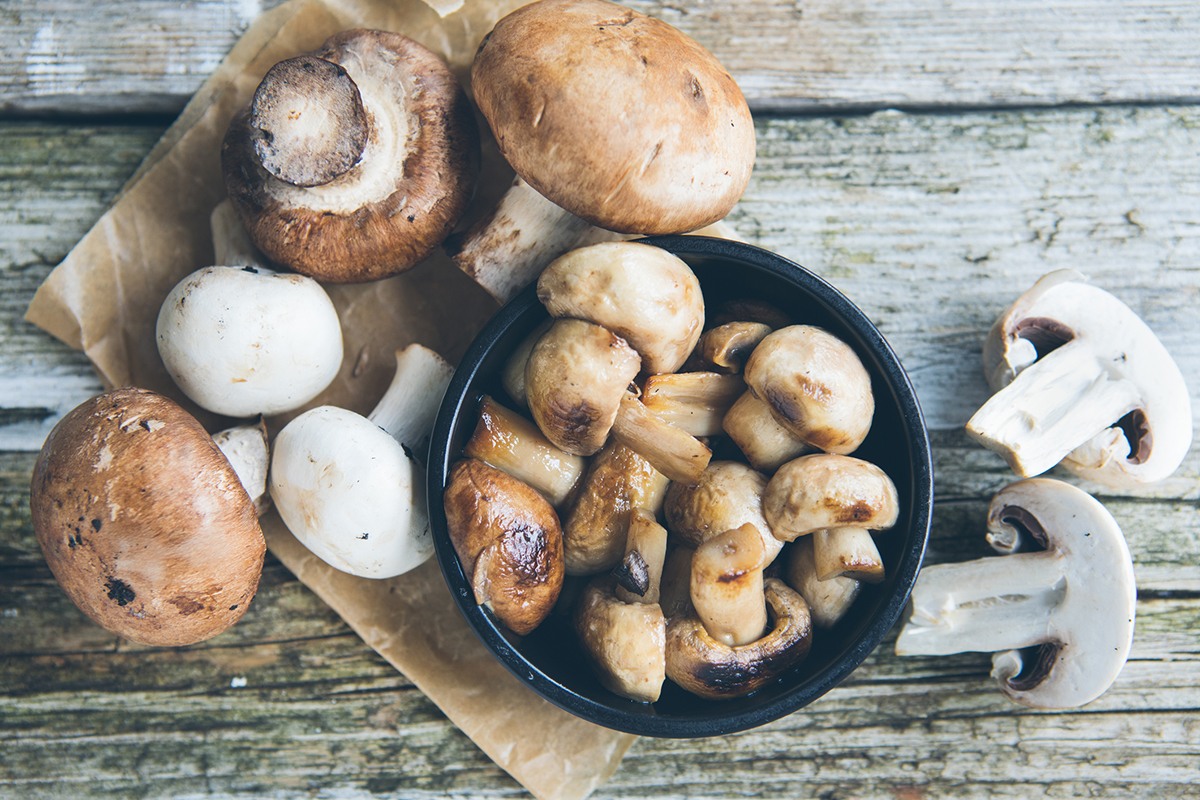
Photo from Unsplash
One of the most common mistakes people make when drying mushrooms is thinking they can save a bad batch by drying them out. It’s a little like trying to freeze meat that is past its expiration date. You can’t change the fact that a mushroom has gone bad; making sure that your mushrooms are at the peak of freshness is the first step in dehydrating them successfully.
How do you know if your mushrooms have spoiled? Sliminess is the first clue, as is a pungent or fishy odor. If you notice either of these off the bat, it’s time to throw the mushrooms away. To keep your mushrooms fresher longer, put leftovers in a paper bag once you open the original packaging.
Step 2: Clean Your Mushrooms
Before you do any dehydrating, you will want to make sure that your mushrooms are clean and properly prepped. Another common mistake people make is that they wash their mushrooms improperly—rather than sticking them under running water, simply wipe them with a damp paper towel. Why? Since mushrooms are so porous, they can swell and can become engulfed with water. As you can imagine, this will make the dehydrating process more difficult and time-consuming. Be careful not to use too much force when cleaning mushrooms—a gentle wipe down to remove excess residue will do.
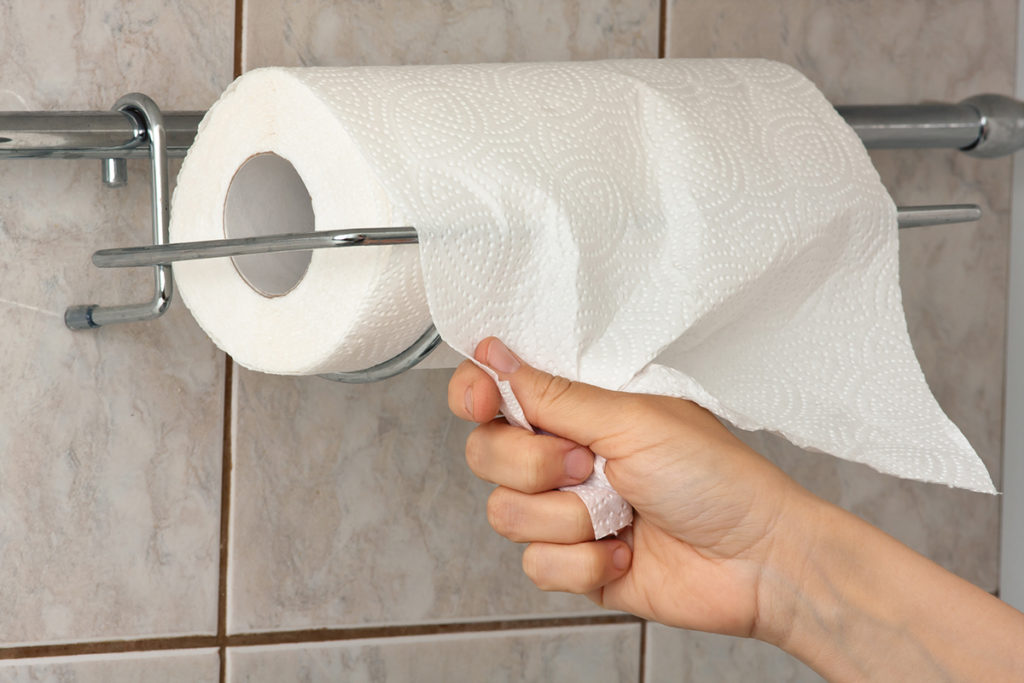
Photo from Pexels
Step 3: Slice Your Mushrooms
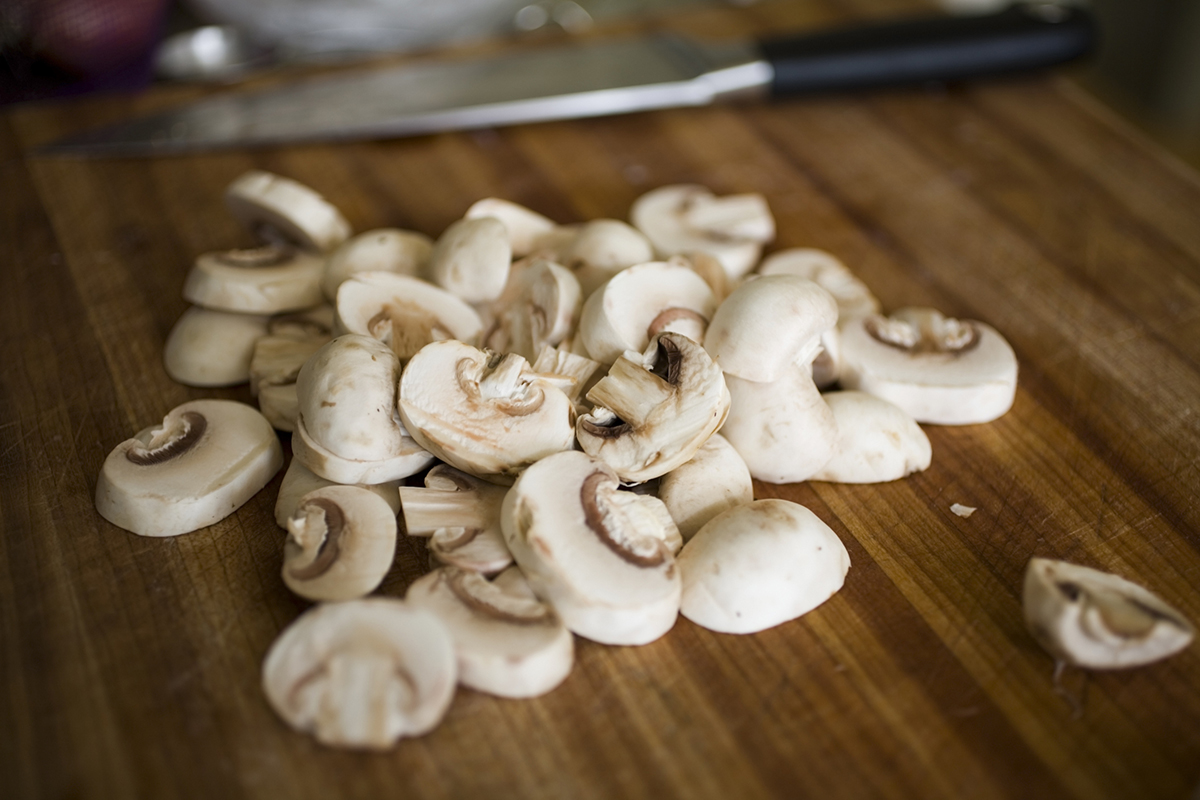
Photo from Unsplash
If you want to dehydrate mushrooms, don’t stick whole caps in and expect a good result. Whole mushroom caps are too dense and will likely not dry out completely; any remaining moisture could compromise flavor, quality, and food safety. As such, it is vital to cut your mushrooms during the preparation process. Slices of ¼ inch thickness are preferable, and a clean, straight line is essential, so your mushrooms dehydrate correctly. Want to save time and make sure that your mushroom slices are uniform? We like using an egg slicer to cut mushrooms into even pieces.
Step 4: Arrange Your Mushrooms
You’ve checked your mushrooms for freshness, cleaned them properly, and made your slices of uniform thickness. Now, it’s time to arrange your mushrooms on your tray. Whether you are using a dehydrator or an oven, the process is essentially the same. Arrange your mushroom slices as close together as possible so you can do as many as possible in one batch, but make sure that they are not touching. Any overlapping areas of mushrooms can retain moisture, which can affect food safety.
Mushrooms contain a lot of moisture and, therefore, significantly shrink as they dry. As such, the more you can fit onto a tray, the better. Dry your mushrooms between 110 and 120 degrees Fahrenheit, or until your mushroom pieces are crispy. How long does this take? If you made ¼ inch slices, the process should take between 6 and 8 hours. If you made them thinner or thicker, it would take less or more time, respectively. The important thing is to check for doneness by breaking them. If they bend instead of breaking, they are not yet ready.
If you don’t have a dehydrator, don’t fret. You can achieve the same result with an oven and a cookie sheet, but it may take a little longer.
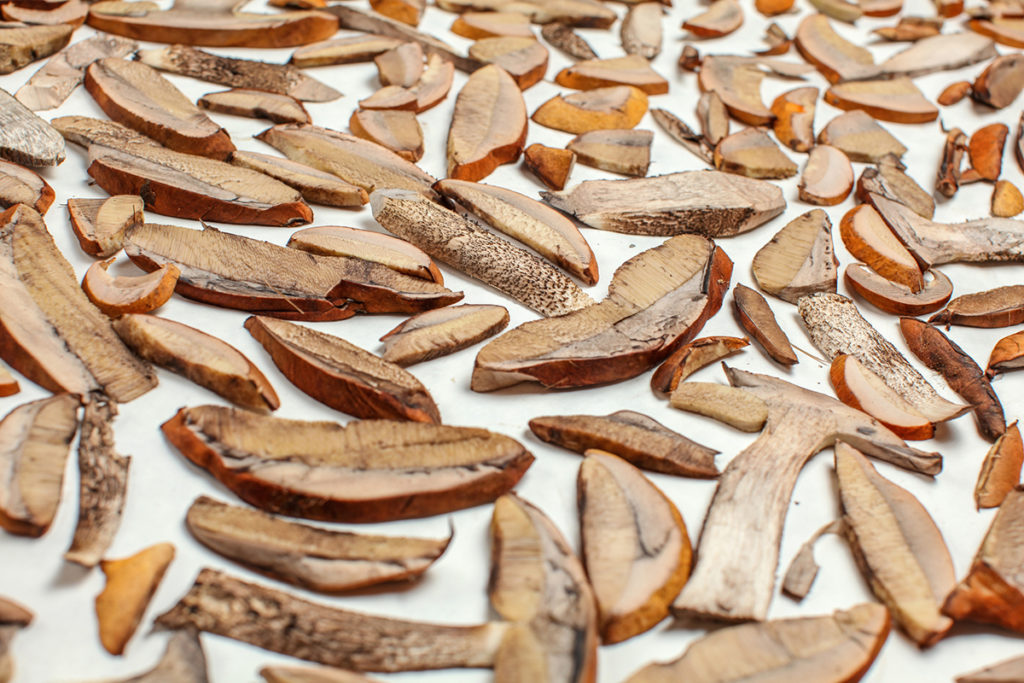
Photo from Unsplash
Step 5: Storing Your Mushrooms
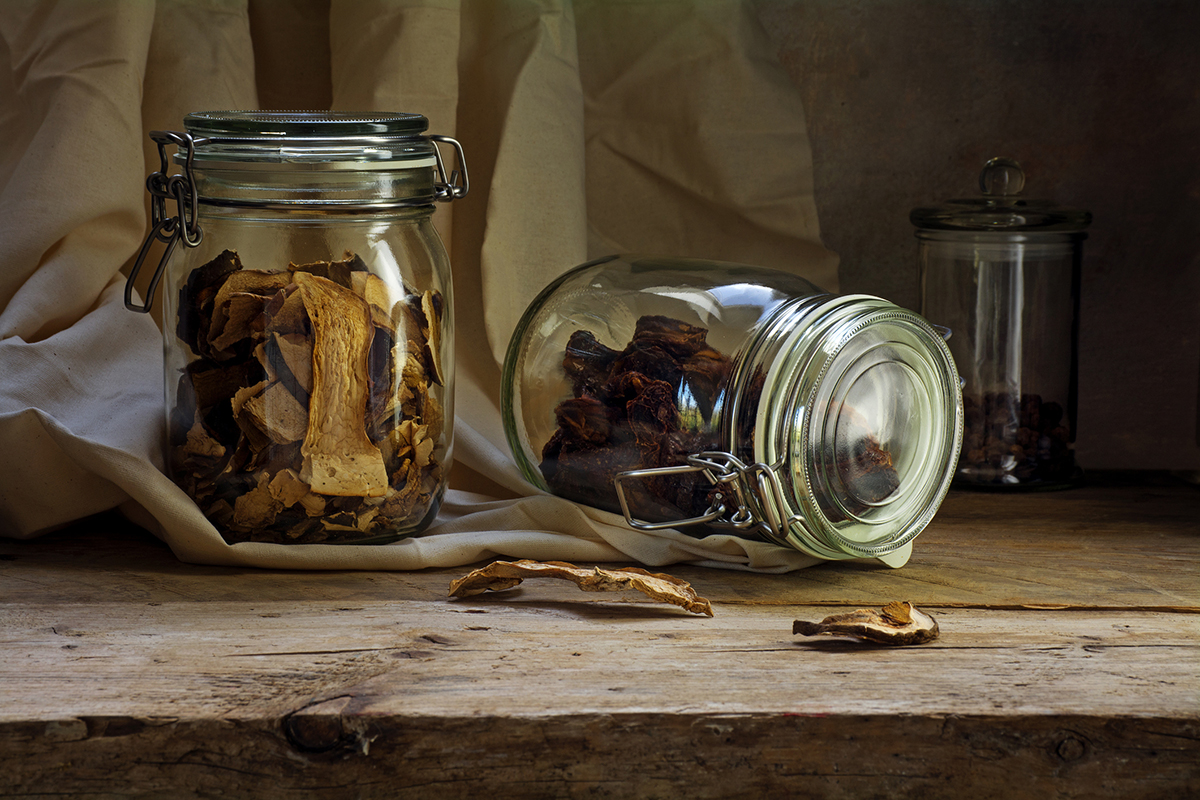
Photo from Pexels
Once your mushrooms pass the break test, it is time to let them cool and store them. It is important to let your mushrooms cool completely—to room temperature, and nothing more. Once they are cool, you can move them to storage containers. For storage, we recommend sanitized glass jars with tight-fitting lids. Label each jar with the type of mushroom inside and the drying date. To ensure peak freshness and flavor, we recommend using dried mushrooms within one month.
Rehydrating Your Mushrooms
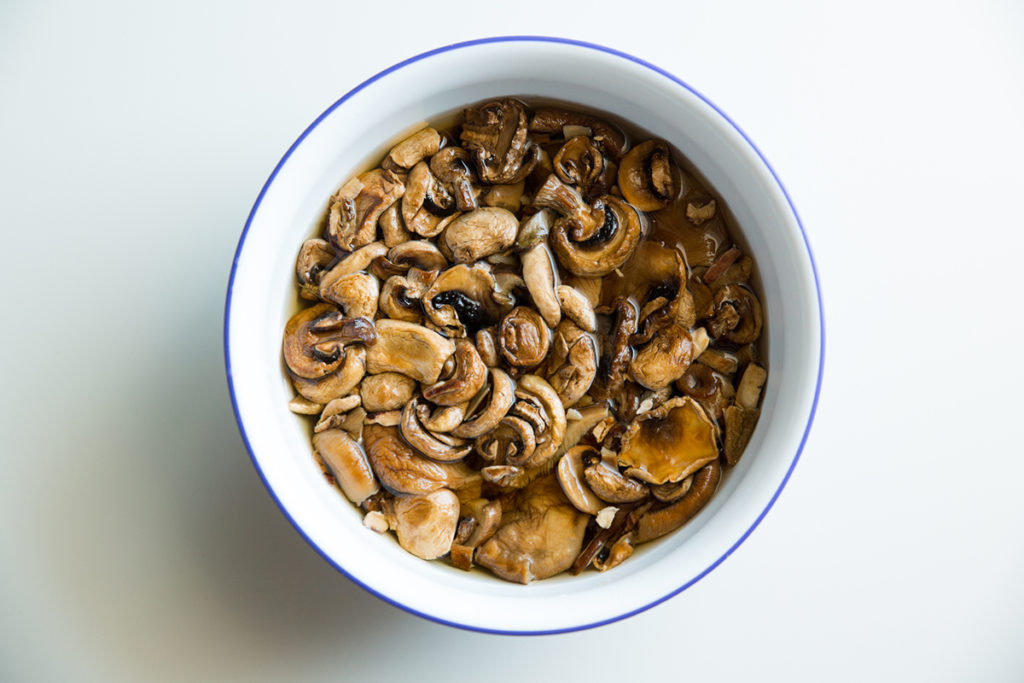
Photo from Pexels
Knowing how to dry mushrooms properly is important, but so is knowing how to rehydrate them. When you are ready to use your mushrooms, simply remove them from their storage container. Put them in a heat-proof bowl (i.e., glass) and pour boiling water over them. Within 20 to 30 minutes, your mushrooms will rehydrate and be ready to use in your favorite recipes!
Think twice before tossing out that water—it will be chock-full of mushroom flavor and a good base for some of your favorite recipes. Toss some of it into your favorite sauce or soup for an extra punch of umami goodness.
With a little patience, some preparation, and basic kitchen equipment, you can enjoy the taste of mushrooms all year long. Try buying mushrooms at the peak of freshness and dehydrating them to lock in the flavor and nutrients. When it’s time to use them in a recipe, simply rehydrate them and get to cooking.